
| DifficultyEasy | Total Time15 min | Prep Time15 min | Cook Time0 min |
| Serves8 | Cost Per Serving~$2.50 | Calories350 kcal | Recipe TypeDessert |
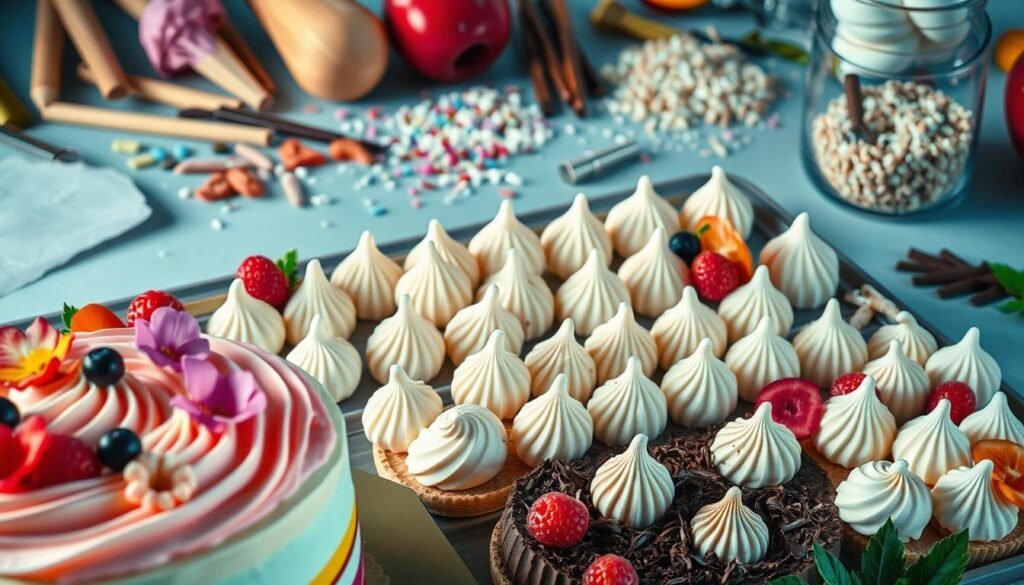
This Guide to Decorating Desserts Without Extra Effort shows you simple techniques to make beautiful desserts quickly. With the right tools and methods, you can create stunning presentations that look professional.
Decorating desserts doesn’t need to be complicated or time-consuming. These easy tips help you transform any dessert into something special using basic techniques that anyone can master.
Why You’ll Love This Recipe
- Simple Techniques – Basic methods that create impressive results without complexity.
- Minimal Tools – Uses everyday kitchen items and affordable decorating supplies.
- Quick Results – Most decorating techniques take just minutes to complete.
- Professional Look – Creates bakery-quality presentations at home.
- Any Skill Level – Perfect for beginners and experienced bakers alike.
Guide to Decorating Desserts Without Extra Effort
Simple techniques and tips for creating beautiful dessert presentations quickly and easily.
Basic Decorating Tools
- Offset spatula
- Piping bags and tips
- Turntable or lazy Susan
- Powdered sugar for dusting
- Chocolate or caramel sauce for drizzling
- Fresh fruits for garnishing
- Edible flowers or herbs
- Store-bought decorations
Basic Techniques
- Prepare your workspace. Set up all tools and decorations before starting.
- Start with dusting. Use powdered sugar or cocoa powder for instant elegance.
- Add drizzles. Warm chocolate or caramel sauce and drizzle over dessert.
- Use simple piping. Create borders or stars with basic piping techniques.
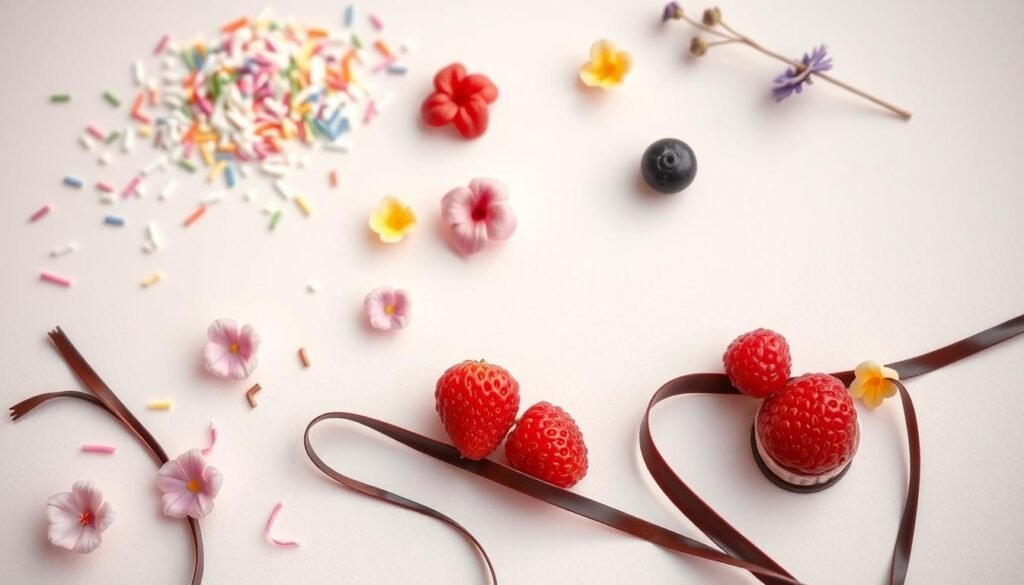
- Add fresh garnishes. Top with seasonal fruits, herbs, or edible flowers.
- Finish with store-bought touches. Add sprinkles, edible glitter, or decorative toppers.
Guide to Decorating Desserts Without Extra Effort Recipe
Creating beautiful dessert presentations becomes simple when you focus on easy techniques that deliver maximum visual impact. These methods work for any skill level and require minimal time investment.
Essential Tools
- Offset spatula for smooth frosting
- Piping bags and basic tips
- Turntable or lazy Susan
- Powdered sugar for dusting
- Chocolate or caramel sauce for drizzling
- Fresh fruits for garnishing
- Edible flowers or herbs
- Store-bought decorative elements
Basic Techniques
- Prepare your workspace. Set up all tools and decorations within easy reach before beginning any decorating work.
- Start with dusting. Use a fine-mesh sieve to dust powdered sugar or cocoa powder over your dessert for instant elegance.
- Add drizzles. Warm chocolate or caramel sauce slightly and use a spoon to create decorative drizzles across the surface.
- Use simple piping. Fill a piping bag with frosting and practice basic borders, stars, or rosettes on parchment before decorating your dessert.
- Add fresh garnishes. Place seasonal fruits, fresh herbs like mint, or edible flowers strategically around your dessert.
- Finish with store-bought touches. Add final details with sprinkles, edible glitter, or themed decorative toppers.
Cook and Prep Times
- Prep Time – 15 minutes
- Cook Time – 0 minutes
- Total Time – 15 minutes
Nutrition Information
- Calories – 350 kcal
Nutrition figures are estimates. For detailed data on individual ingredients, USDA FoodData Central is the most accurate reference.
Professional Presentation Tips
These tricks help create bakery-quality results at home.
- Use templates and stencils for consistent patterns and designs.
- Keep decorating elements at room temperature for easier handling.
- Work quickly with chocolate drizzles before they set completely.
- Layer different textures like smooth frosting with crunchy toppings.
Substitutions
Piping bags – Use zip-top bags with a corner cut off as a simple alternative.
Turntable – A large plate or cutting board placed on a bowl works for rotating desserts.
Offset spatula – A regular butter knife can work for simple frosting tasks.
Edible flowers – Fresh herbs like mint or basil provide similar visual appeal.
Tips and Variations
- Color themes – Match decorations to the occasion or season for cohesive presentation.
- Texture contrasts – Combine smooth elements like glazes with textured toppings like chopped nuts.
- Height variation – Use different sized elements to create visual depth and interest.
- Natural elements – Incorporate seasonal fruits and herbs that complement the dessert’s flavors.
- Store-bought shortcuts – Use quality pre-made elements like chocolate curls or sugar decorations.
Technique Notes
Dusting – Work over parchment paper to catch excess powder and keep your workspace clean.
Drizzling – Practice the motion on parchment first to get comfortable with the flow and pattern.
Piping – Start with simple designs and gradually work up to more complex patterns as your confidence builds.
Fresh garnishes – Add these last to prevent wilting or losing their fresh appearance.
Estimated Cost Per Serving
- Basic decorating supplies – ~$0.50
- Powdered sugar – ~$0.10
- Chocolate sauce – ~$0.25
- Fresh garnishes – ~$0.75
- Store-bought decorations – ~$0.40
Total for 8 servings: ~$2.00 – roughly $0.25 per serving in decorating costs.
Prices are estimates based on average US grocery store costs and will vary by location and brand.
How to Store Decorated Desserts
Store decorated desserts in the refrigerator at 40 degrees F or below if they contain perishable elements like fresh fruit or cream. Cover gently with plastic wrap or place in a cake dome to protect decorations.
Most decorative elements hold up well for 1-2 days when properly stored. Check the FDA food storage guidelines for specific recommendations.
What Occasions Work Best for These Techniques
These simple decorating methods work perfectly for birthday parties, holiday celebrations, and dinner parties. The techniques are quick enough for last-minute entertaining.
For formal occasions, focus on elegant elements like fresh fruit and subtle dusting. Casual celebrations can handle more colorful sprinkles and themed decorations for a festive look.
Recommended Kitchen Gear
* As an Amazon Associate I earn from qualifying purchases at no extra cost to you.
Frequently Asked Questions
What are some easy dessert decorating techniques?
Easy techniques include dusting and drizzling, simple piping, and using templates. One-minute garnishing tricks also work well for creating beautiful presentations quickly.
How can I make my desserts look professional without excessive effort?
Use simple techniques and edible decorations that create maximum visual impact. Store-bought embellishments and natural ingredients like seasonal fruits add professional touches easily.
What are some essential tools for effortless dessert decorating?
Basic tools include piping bags, tips, offset spatulas, and a turntable. Affordable alternatives like silicone molds and stamps help create detailed designs with minimal effort.
How can I add color and texture to my desserts without complexity?
Work with food coloring in small amounts and create textural contrasts by combining smooth and rough elements. Layering techniques add visual depth without requiring advanced skills.
What are some simple dessert garnishing methods for beginners?
Use fresh fruits, nuts, and chocolate shavings as simple garnishes. One-minute tricks like powdered sugar dusting or cocoa powder add elegant finishing touches to any dessert following this Guide to Decorating Desserts Without Extra Effort.
Want to save this for later? Pin it!


From beginner-friendly tips to no-fuss dessert ideas, Ryan is all about helping people enjoy baking and treat-making without the stress. Whether you’re whipping up something for a party or just craving something sweet, Ryan’s practical approach makes it easy to create desserts that taste great and don’t take all day.