Measuring Cups and Spoons are the foundation of consistent cooking and baking results. The right measuring tools make the difference between a recipe that works perfectly every time and one that varies unpredictably.
Most home cooks use whatever measuring tools came with their kitchen or were passed down from family. This guide helps you choose the right measuring tools for accurate results and explains how to use them properly.
By the end you will know which materials work best, what features matter most, and how to measure ingredients correctly for better cooking and baking.
TL;DR
- Dry measuring cups are designed for flour and sugar while liquid measuring cups have spouts and clear sides for liquids.
- Stainless steel measuring tools last longest and resist staining better than plastic options.
- Level measurements are standard for most recipes – scrape excess off the top with a straight edge.
- Reading liquid measurements at eye level prevents pouring errors that throw off recipes.
* As an Amazon Associate I earn from qualifying purchases at no extra cost to you.
Measuring Cups and Spoons Types Compared
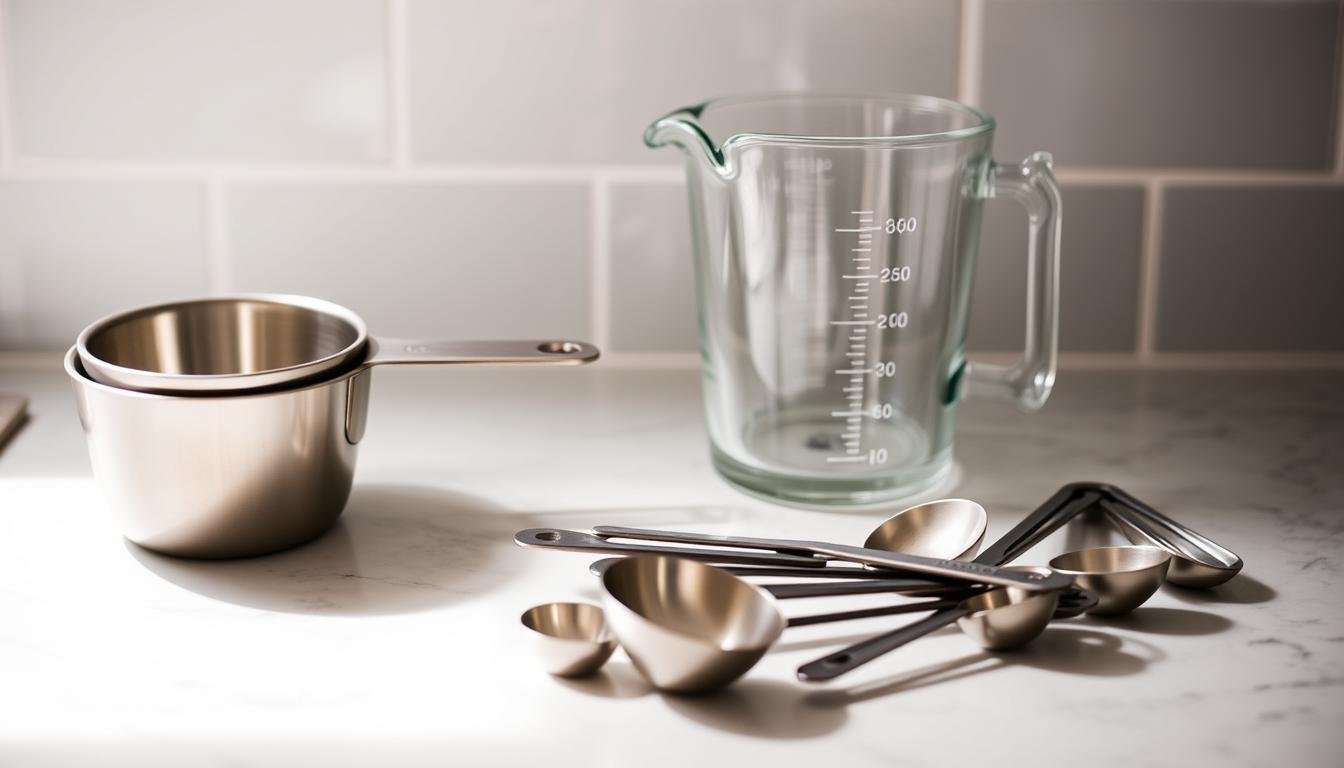
Two main categories handle different kitchen tasks. Dry measuring cups scoop and level ingredients like flour and sugar. Liquid measuring cups pour and measure liquids like milk and oil.
The design differences matter for accuracy. Dry cups have flat tops so you can level ingredients evenly. Liquid cups have spouts and measurement lines below the rim so liquids do not spill when pouring.
Dry Measuring Cups
Dry measuring cups come in nested sets with standard sizes. Most sets include 1 cup, 1/2 cup, 1/3 cup, and 1/4 cup sizes. Some sets add 1/8 cup and 2/3 cup for more recipe flexibility.
The key feature is the flat rim that lets you level ingredients accurately. Scoop the ingredient so it mounds slightly above the rim, then level with a straight edge like a knife back or bench scraper.

Liquid Measuring Cups
Liquid measuring cups have clear sides with measurement markings and pour spouts. Common sizes are 1 cup, 2 cups, and 4 cups, though larger sizes exist for big batch cooking.
Place the cup on a flat surface and read at eye level for accuracy. The curved surface of liquid creates a meniscus – read from the bottom of the curve for the correct measurement.
Measuring Spoons
Measuring spoons handle small amounts of both dry and liquid ingredients. Standard sets include 1 tablespoon, 1 teaspoon, 1/2 teaspoon, and 1/4 teaspoon sizes.
Some sets add 1/8 teaspoon for recipes calling for small amounts of spices or extracts. Look for spoons with flat bottoms that sit steadily when filled.
What Materials Work Best
Three main materials dominate measuring tool construction. Each has strengths and weaknesses depending on your cooking style and budget.
Stainless Steel
Stainless steel measuring tools last the longest and resist staining from ingredients like turmeric or tomato sauce. They handle dishwasher cleaning without warping or cracking.
The weight feels substantial in your hands and the material does not absorb flavors or odors. Stainless steel costs more upfront but often outlasts cheaper materials by years.
Plastic
Plastic measuring tools cost less and weigh less than metal options. They work fine for basic measuring tasks and come in bright colors that some cooks prefer.
Quality varies widely with plastic options. Cheap plastic can crack or warp over time, especially in the dishwasher. Look for BPA-free plastic that feels sturdy when squeezed.
Glass
Glass measuring cups work especially well for liquids because you can see the measurement lines clearly. They handle hot liquids safely and clean easily without staining.
Glass breaks if dropped, making it less practical for busy kitchens. The weight can also make pouring more difficult for some cooks.

Key Features That Matter
Several design features separate good measuring tools from great ones. These details affect daily use more than you might expect.
Handle Design
Comfortable handles make measuring less tiring during big baking sessions. Look for handles that feel secure in wet hands and do not slip when cups are full.
Some measuring spoons have narrow handles that fit through spice jar openings. Others have wide handles that are easier to grip but may not fit all containers.
Measurement Markings
Clear, permanent markings prevent measurement errors. Etched or molded markings last longer than painted ones that can wear off with washing.
Multiple measurement units help with recipe conversions. Look for cups marked with both US and metric measurements when you cook from international recipes.
Nesting and Storage
Nested sets save drawer space and keep pieces together. Check that the nesting is smooth without pieces sticking or difficult to separate.
Some sets include rings or clips that keep pieces together. These help prevent losing individual cups or spoons in busy kitchen drawers.
How to Measure Flour Correctly
Flour measurement technique affects recipe results more than any other ingredient.
- Fluff the flour in its container with a spoon before measuring to break up compaction.
- Scoop flour with the measuring cup until it mounds above the rim.
- Level with a straight edge like a knife back – do not tap or shake the cup.
Proper Measuring Techniques
Knowing how to use measuring tools correctly matters as much as having good tools. Small technique changes improve recipe consistency significantly.
Dry Ingredient Methods
Different dry ingredients need different approaches. Flour should be spooned into cups and leveled, while brown sugar gets packed firmly into the cup.
Granulated sugar and most spices work with the scoop and level method. Cocoa powder and powdered sugar benefit from sifting before measuring if they look lumpy.
Liquid Measuring Tips
Place liquid measuring cups on a flat counter surface before adding liquid. Holding the cup while pouring leads to inaccurate measurements.
Pour liquid to just below the desired line, then add drops until you reach the exact measurement. Reading at eye level prevents parallax errors that occur when viewing from above.
Sticky Ingredients
Ingredients like honey, molasses, or peanut butter stick to measuring cups and spoons. Spray the measuring tool with cooking oil first for easier release and more accurate measurements.
For very sticky ingredients, measure over the mixing bowl so any residue falls into your recipe rather than being wasted.
Converting Between Measurement Systems
Recipe sources from different countries use different measurement systems. Understanding conversions helps you cook from any recipe successfully.
Volume Conversions
US recipes use cups and tablespoons while many international recipes use milliliters and liters. One US cup equals 240 milliliters for most practical cooking purposes.
Common conversions include 1 tablespoon equals 15 milliliters and 1 teaspoon equals 5 milliliters. Keep a conversion chart handy until these become automatic.
Weight vs Volume
Professional bakers measure by weight for better accuracy. One cup of flour can weigh anywhere from 120 to 150 grams depending on how it settles and how you measure.
A kitchen scale eliminates this variation but measuring cups remain useful for liquids and small amounts of ingredients where precision matters less.
Specialty Measuring Tools
Beyond basic cups and spoons, several specialty tools handle specific measuring tasks more effectively.
Adjustable Measuring Cups
Adjustable cups let you select different measurements with one tool. A plunger mechanism changes the cup capacity from 1/4 cup to 2 cups in some models.
These work well for sticky ingredients and reduce the number of tools to wash. The mechanism can jam over time, so quality varies by manufacturer.
Mini Measuring Spoons
Very small measuring spoons handle ingredients like vanilla extract, salt, or baking powder more precisely than regular teaspoons.
Sizes like 1/8 teaspoon, 1/16 teaspoon, and pinch measurements help when recipes call for tiny amounts. These prove especially useful for spice blends and delicate seasonings.

Care and Maintenance
Proper care extends the life of measuring tools and maintains their accuracy. Simple habits prevent most problems before they start.
Cleaning Methods
Wash measuring tools immediately after use to prevent ingredients from hardening. Most materials handle dishwasher cleaning, but check manufacturer recommendations for plastic items.
For stuck-on ingredients, soak in warm soapy water before scrubbing. Avoid abrasive cleaners that can scratch measurement markings or damage surfaces.
Storage Solutions
Store nested sets together to prevent losing pieces. Keep measuring spoons on a ring or clip so they stay organized in drawers.
Dry all pieces completely before storing to prevent rust on metal tools. Stack carefully to avoid scratches and maintain smooth nesting action.
Quality measuring tools can last decades with proper care. Replace them when markings become illegible, pieces crack, or accuracy seems questionable.
For more precision in your baking projects, check out our guide on kitchen scales for baking which complements measuring cups perfectly. You might also find our essential baking tools guide helpful for building a complete toolkit.
Professional sources like America’s Test Kitchen provide additional measuring technique details for serious home cooks.
Frequently Asked Questions
What is the difference between dry and liquid measuring cups?
Dry measuring cups have flat rims for leveling ingredients and come in nested sets, while liquid measuring cups have spouts and clear sides with measurement lines for pouring liquids accurately.
Should I measure flour by scooping directly from the bag?
No, scooping directly packs the flour and gives you more than the recipe calls for. Instead, fluff the flour first, spoon it into the cup, then level with a straight edge.
Are plastic measuring cups as accurate as metal ones?
Quality plastic measuring cups can be just as accurate as metal, but cheap plastic may warp over time and become less precise. Stainless steel maintains accuracy longer.
How do I measure sticky ingredients like honey accurately?
Spray your measuring cup or spoon with cooking oil before measuring sticky ingredients. This helps them release completely and gives you more accurate measurements.
When should I replace my measuring cups and spoons?
Replace measuring tools when markings become hard to read, plastic cracks or warps, or when you notice measurements seem inconsistent compared to recipes that worked before.
Final Thoughts
Measuring Cups and Spoons form the foundation of consistent cooking and baking results. The right tools combined with proper technique make recipe success predictable rather than lucky.
Start with a quality stainless steel set that includes both dry and liquid measuring tools, then add specialty items as your cooking skills develop.

From beginner-friendly tips to no-fuss dessert ideas, Ryan is all about helping people enjoy baking and treat-making without the stress. Whether you’re whipping up something for a party or just craving something sweet, Ryan’s practical approach makes it easy to create desserts that taste great and don’t take all day.